UITextFieldに余白(padding、margin)を持たせるやり方。
やり方は、UITextFieldを継承したカスタムクラスを作成して、必要なメソッドをオーバーライドする。
カスタムクラスとか使いたくない場合はInterfaceBuilderでがんばる方法もある。
手順
1.「New File…」で、UITextFieldを継承したカスタムクラス(ここでは、MyTextFieldと名前をつけた)をつくる。
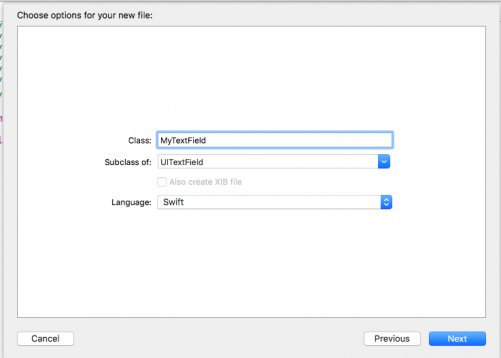
MyTextField.swiftの作成
2.必要なメソッドをオーバーライドする。今回使用したメソッドは以下。具体的には、最後に貼り付けたソースを参照。
textRect(forBounds bounds: CGRect)
編集中のテキストの余白
editingRect(forBounds bounds: CGRect)
プレースホルダーの余白
placeholderRect(forBounds bounds: CGRect)
3.Interface BuilderでTextFieldを配置。
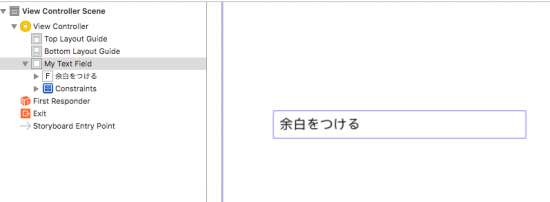
InterfaceBuilderでTextFieldを配置する
4.配置したTextFiledのCustomClassにMyTextFieldと入力。
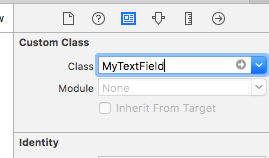
CustomClassに”MyTextField”を入力
これでOK。
で、動かして確認してみる。
まず、placeholderRect(forBounds bounds: CGRect)で設定した、プレースホルダーの余白。ちゃんとできている。

プレースホルダーの余白
で、編集中のテキストの余白。editingRect(forBounds bounds: CGRect)で設定した内容。これもOK。
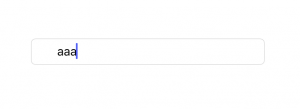
編集中のテキストの余白
最後に、入力を確定して、テキストの余白を確認する。textRect(forBounds bounds: CGRect)で設定した内容が反映されている!うぇーい!
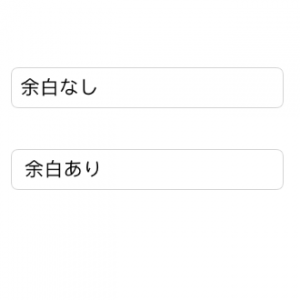
上が標準で、下がカスタム。
今回は、わかりやすくするために、余白に違いをつけたが、普通は揃えるのがオトコってもんよ。
|
1 2 3 4 5 6 7 8 9 10 11 12 13 14 15 16 17 18 19 20 21 22 23 |
import UIKit class MyTextField: UITextField { //それぞれオーバーライドしたメソッドでは、それぞれの描画領域を返すものだが、 //この描画領域をせまくすることで、余白をつくる。 //入力したテキストの余白 override func textRect(forBounds bounds: CGRect) -> CGRect { return bounds.insetBy(dx: 10.0, dy: 0.0) } //編集中のテキストの余白 override func editingRect(forBounds bounds: CGRect) -> CGRect { return bounds.insetBy(dx: 30.0, dy: 0.0) } //プレースホルダーの余白 override func placeholderRect(forBounds bounds: CGRect) -> CGRect { return bounds.insetBy(dx: 50.0, dy: 0.0) } } |


コメント